First installation
Turning a freshly started Gheetah into a working installation: the setup token, how people sign in, where projects live, where data is stored, the permission groups, and the first administrator account.
Watch this flow
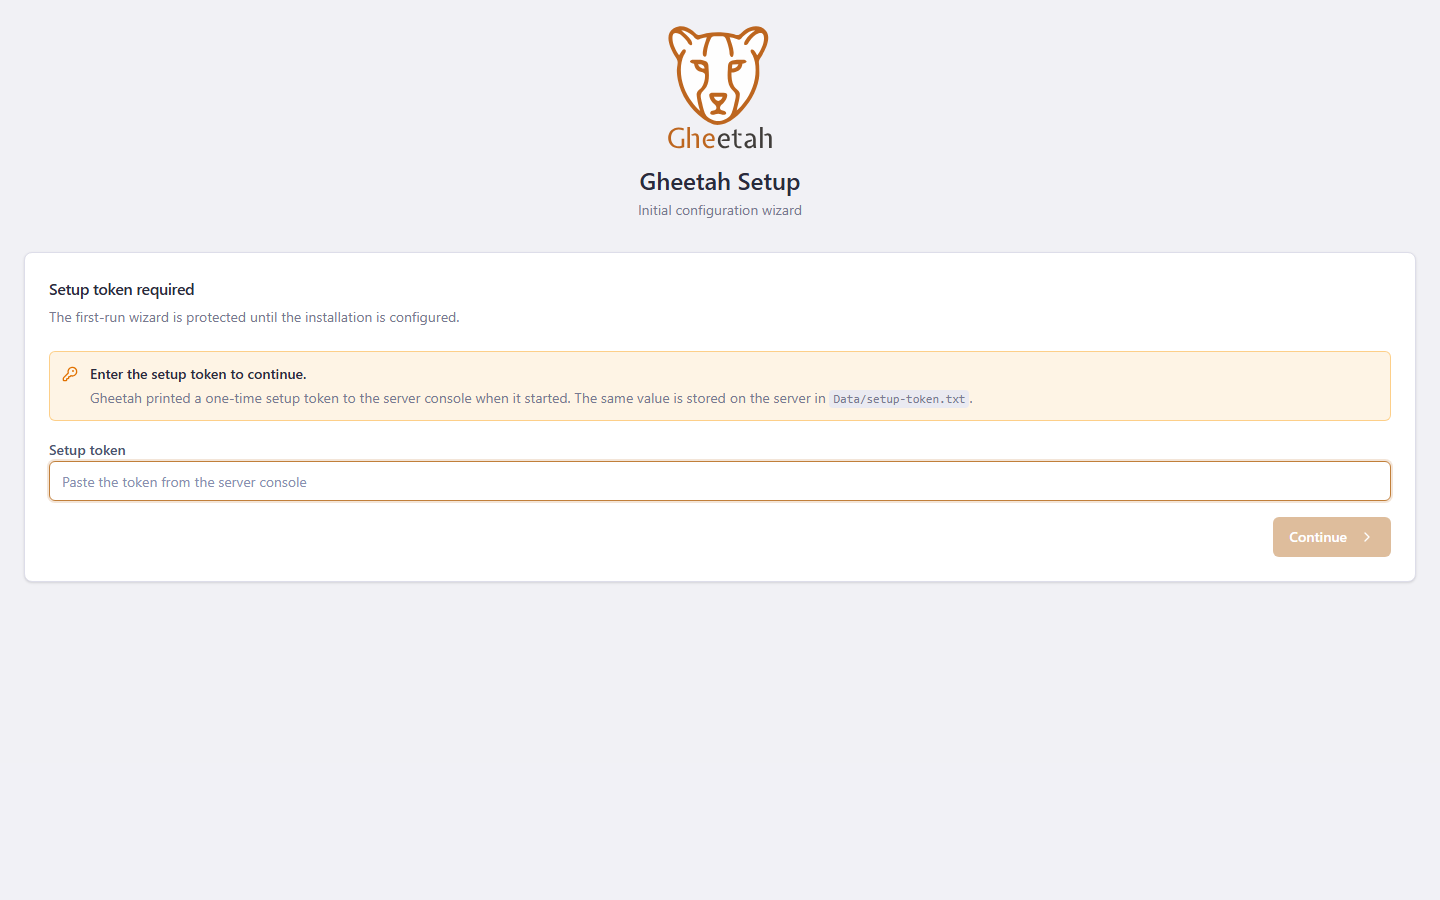
1.1 Open Gheetah for the first time
A server that has not been configured yet answers every address with the setup wizard, and the wizard asks for a one-time token before it will do anything. Gheetah prints that token to the server console when it starts, and also writes it to Data/setup-token.txt — so whoever can read the server can configure it, and nobody else can.
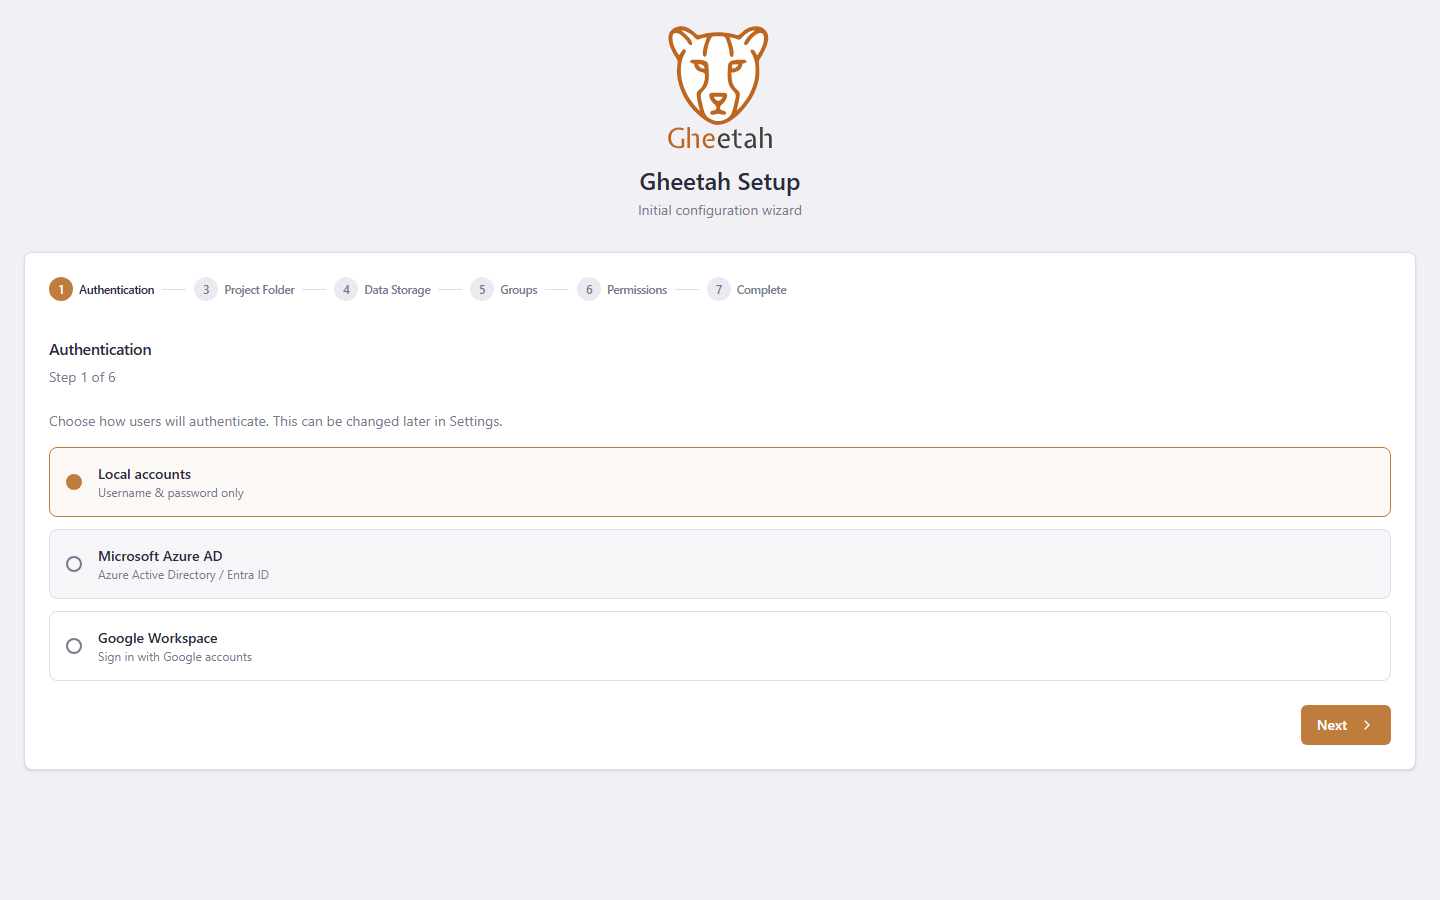
1.2 Choose how people sign in
Local accounts means Gheetah holds the usernames and passwords itself, which needs no other system and is the fastest way to get started. Microsoft Azure AD (Entra ID), Google and generic SSO are the alternatives, and any of them can be chosen later in Settings — this is not a decision you are stuck with.
1.3 Say where projects live
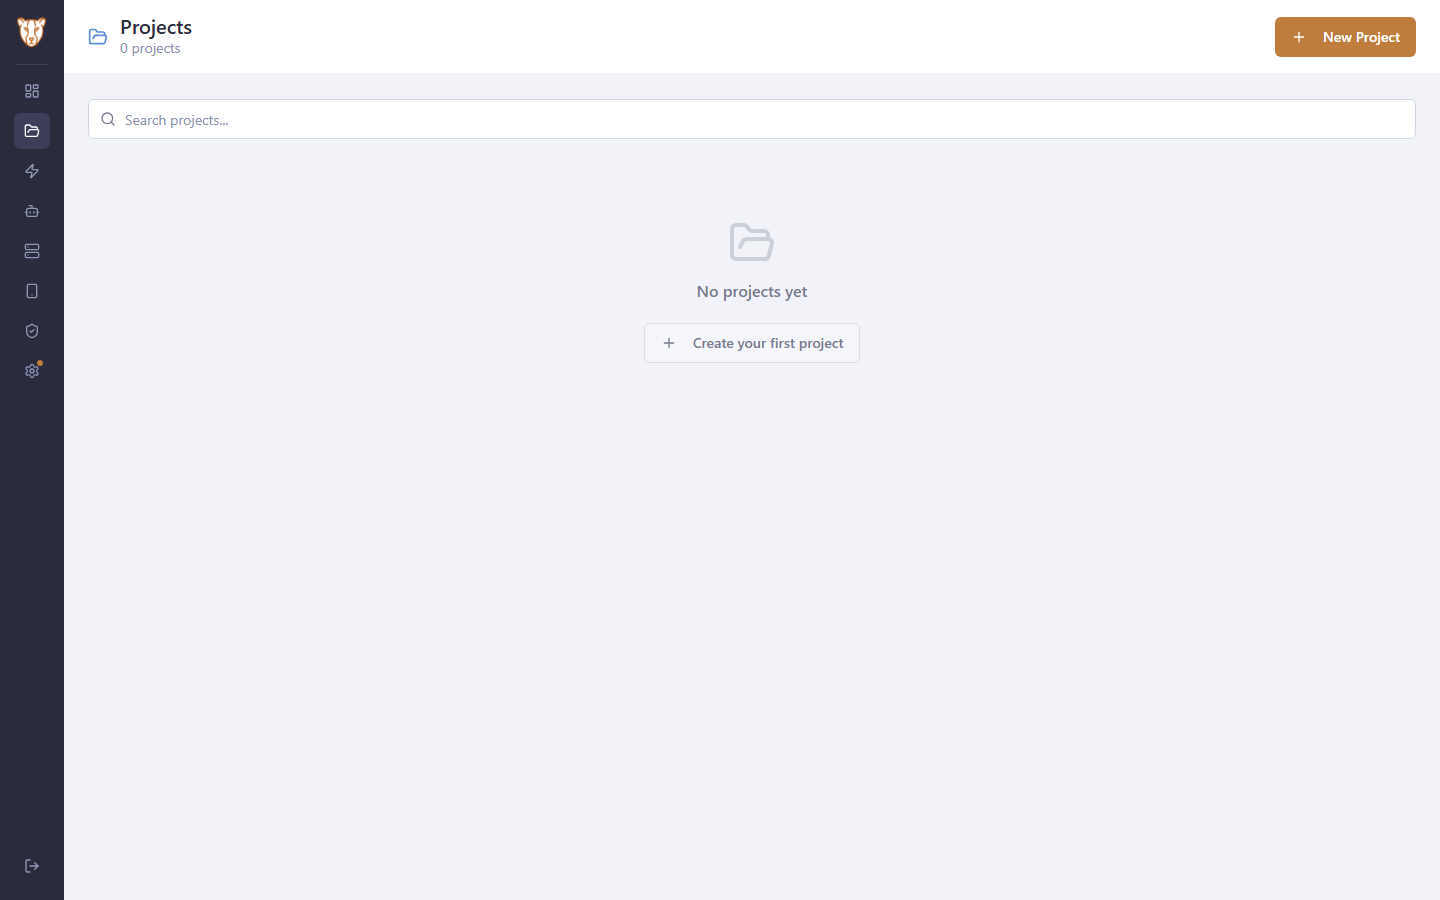
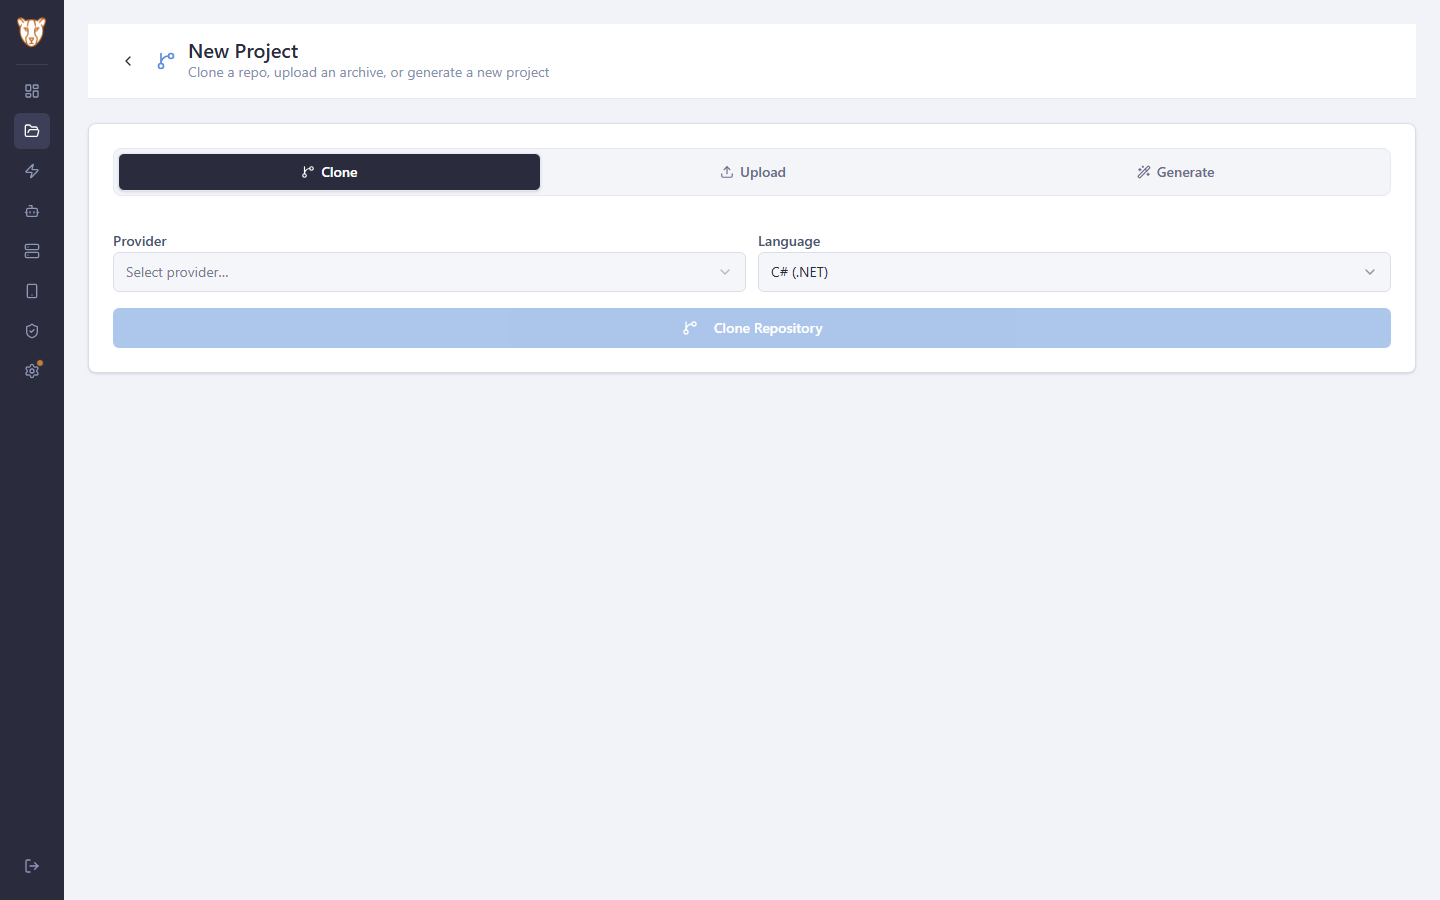
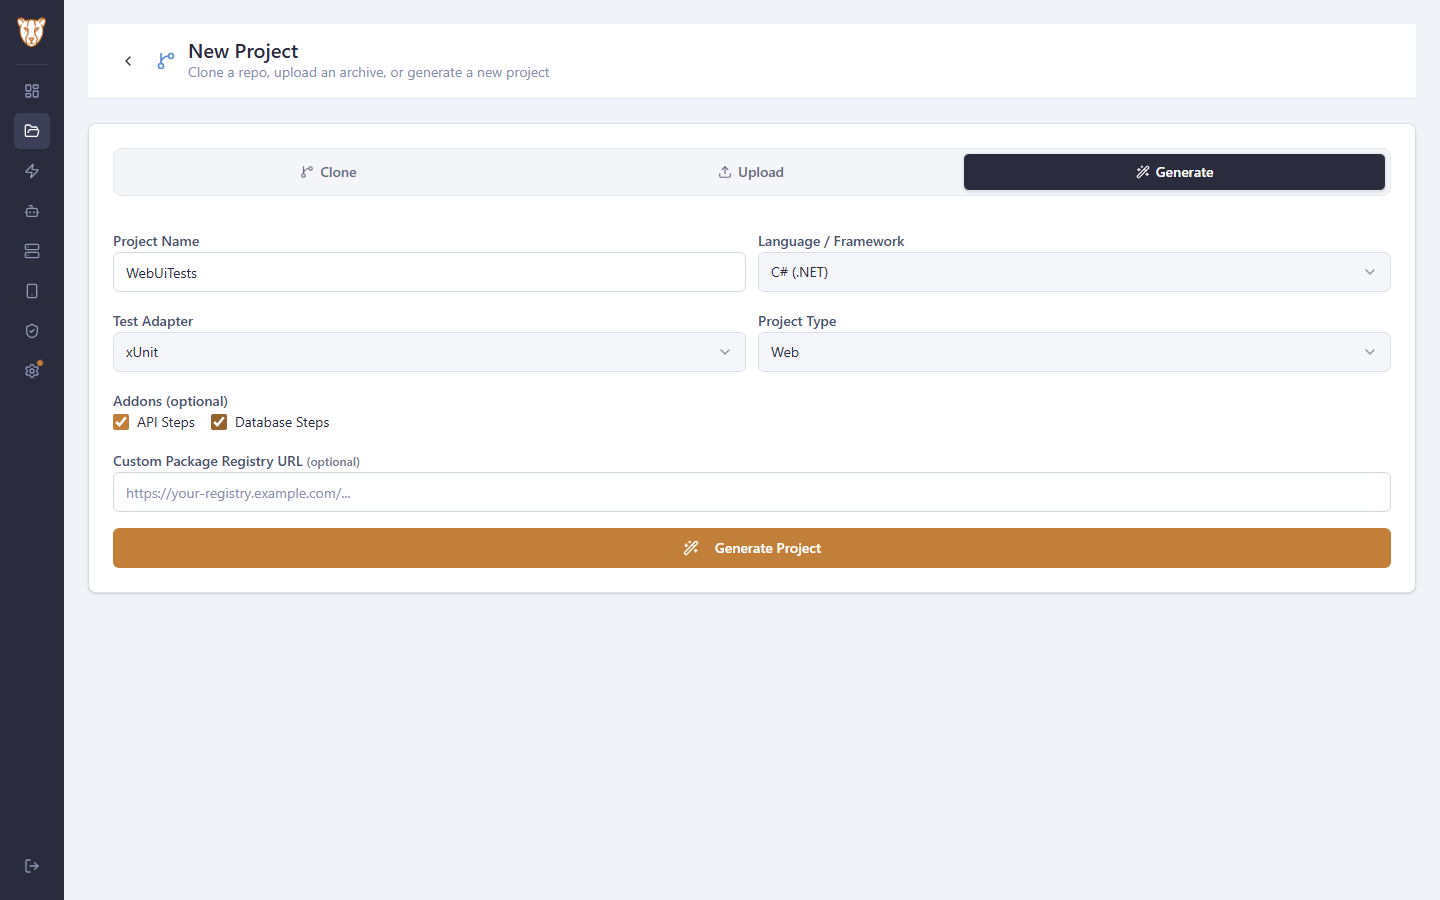
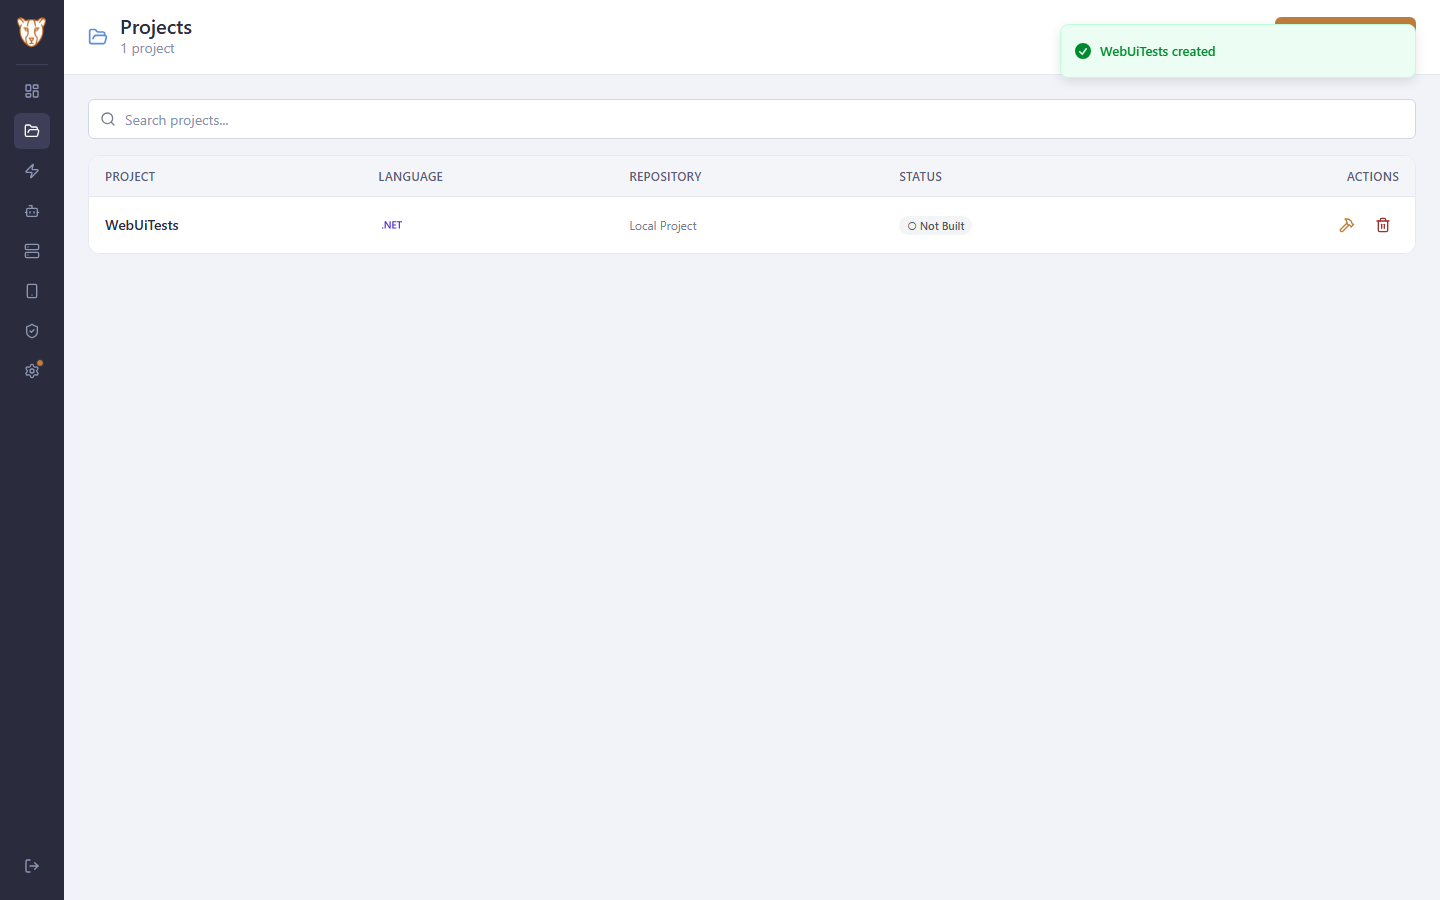
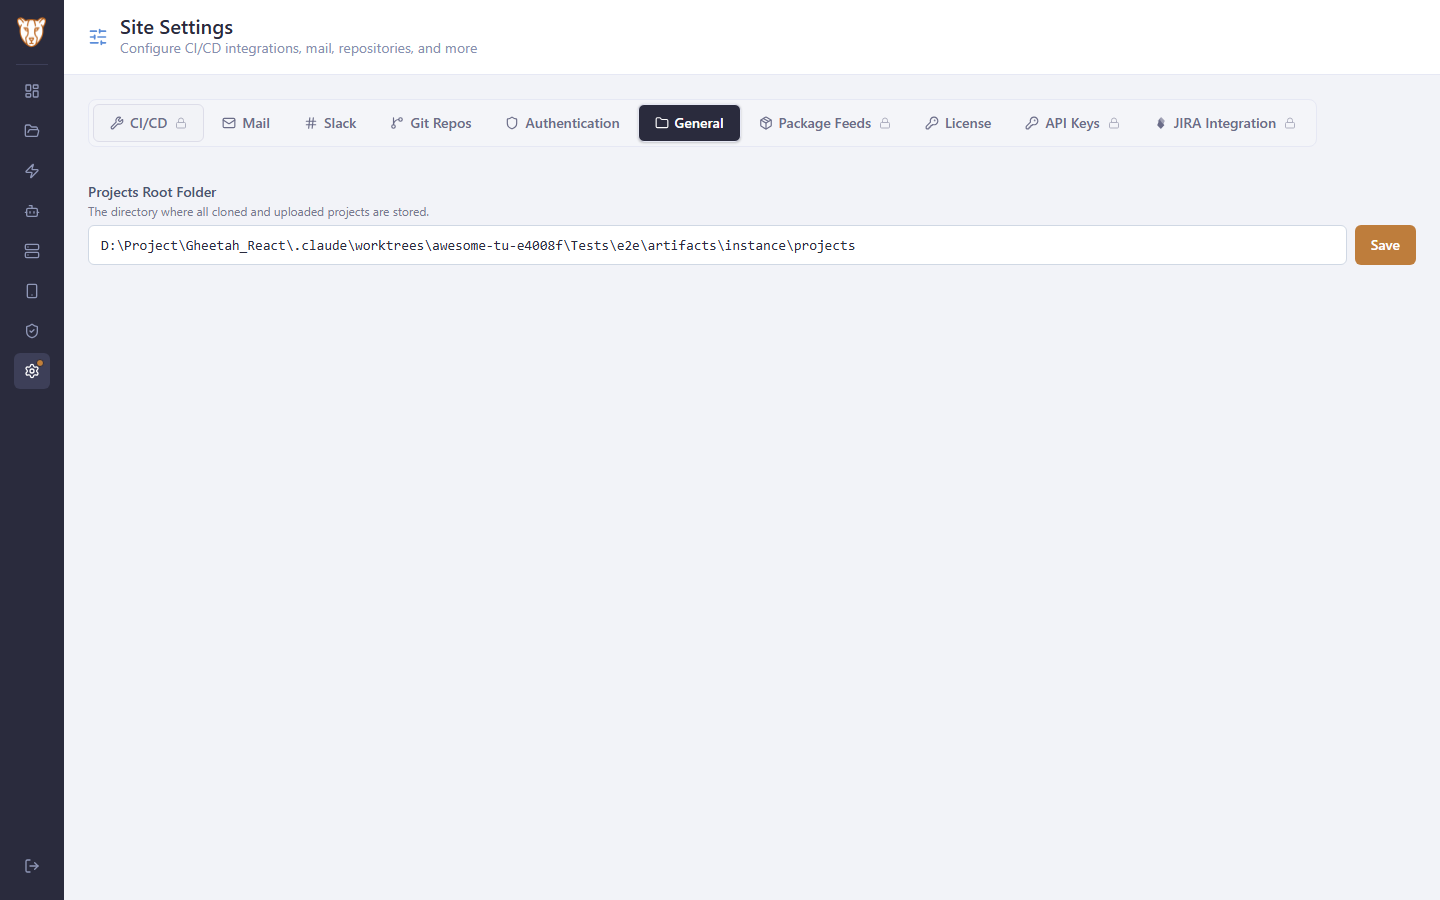
The project folder is the one directory Gheetah clones into, generates into and builds in. Everything a team adds — cloned repositories, uploaded archives, generated projects — lands under it. It can be left empty and set later in Settings.
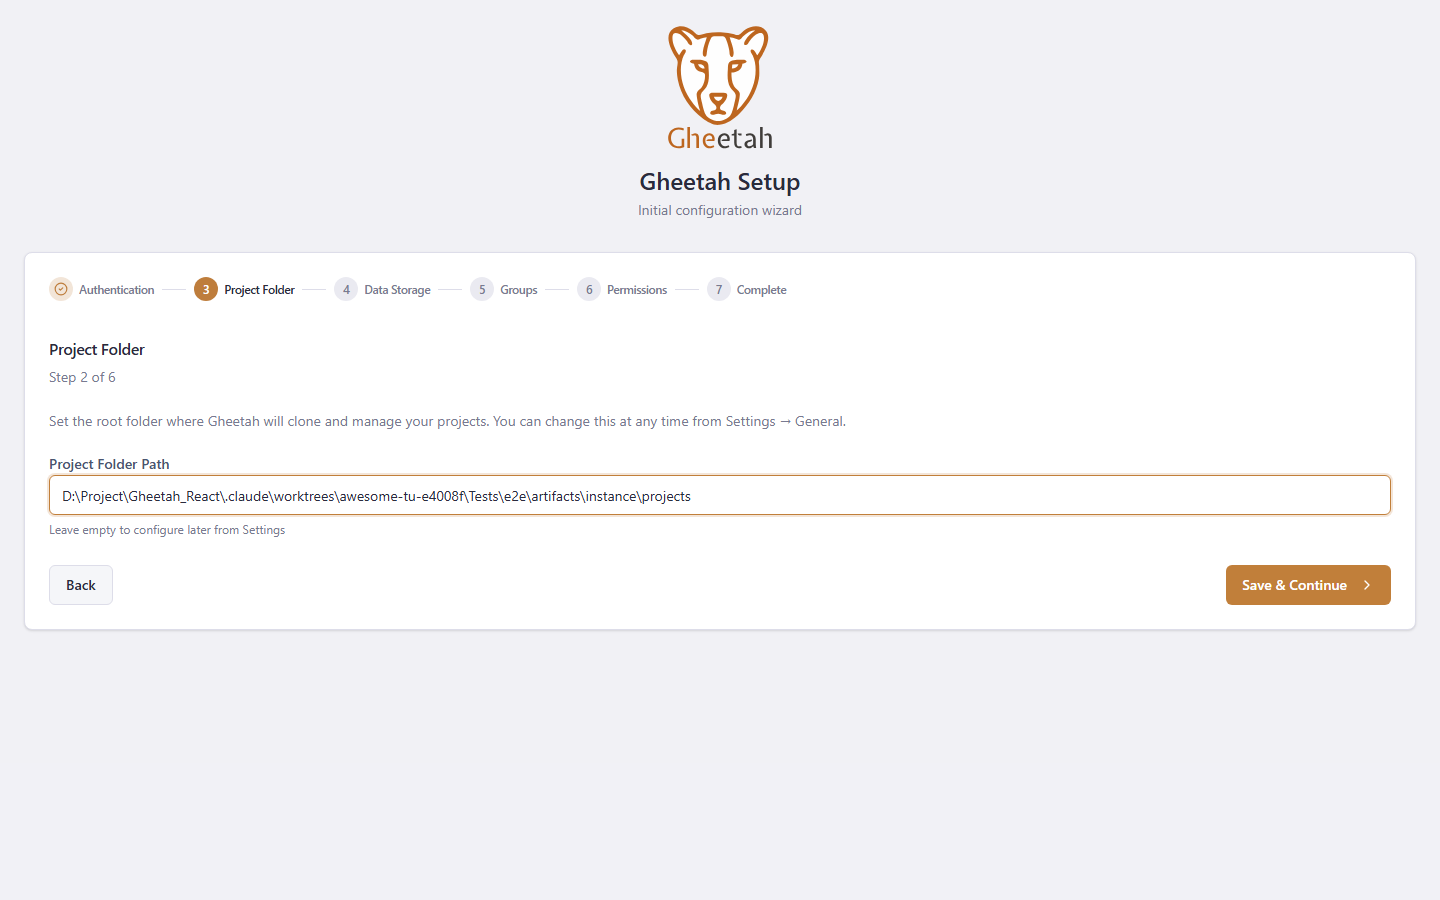
1.4 Choose where Gheetah keeps its data
Local JSON needs no database and is the default: Gheetah writes its own files under Data/. SQLite, PostgreSQL, MongoDB and Cosmos DB are the alternatives for a shared or larger installation. Every feature works the same on all of them — the choice is about operations, not capability.
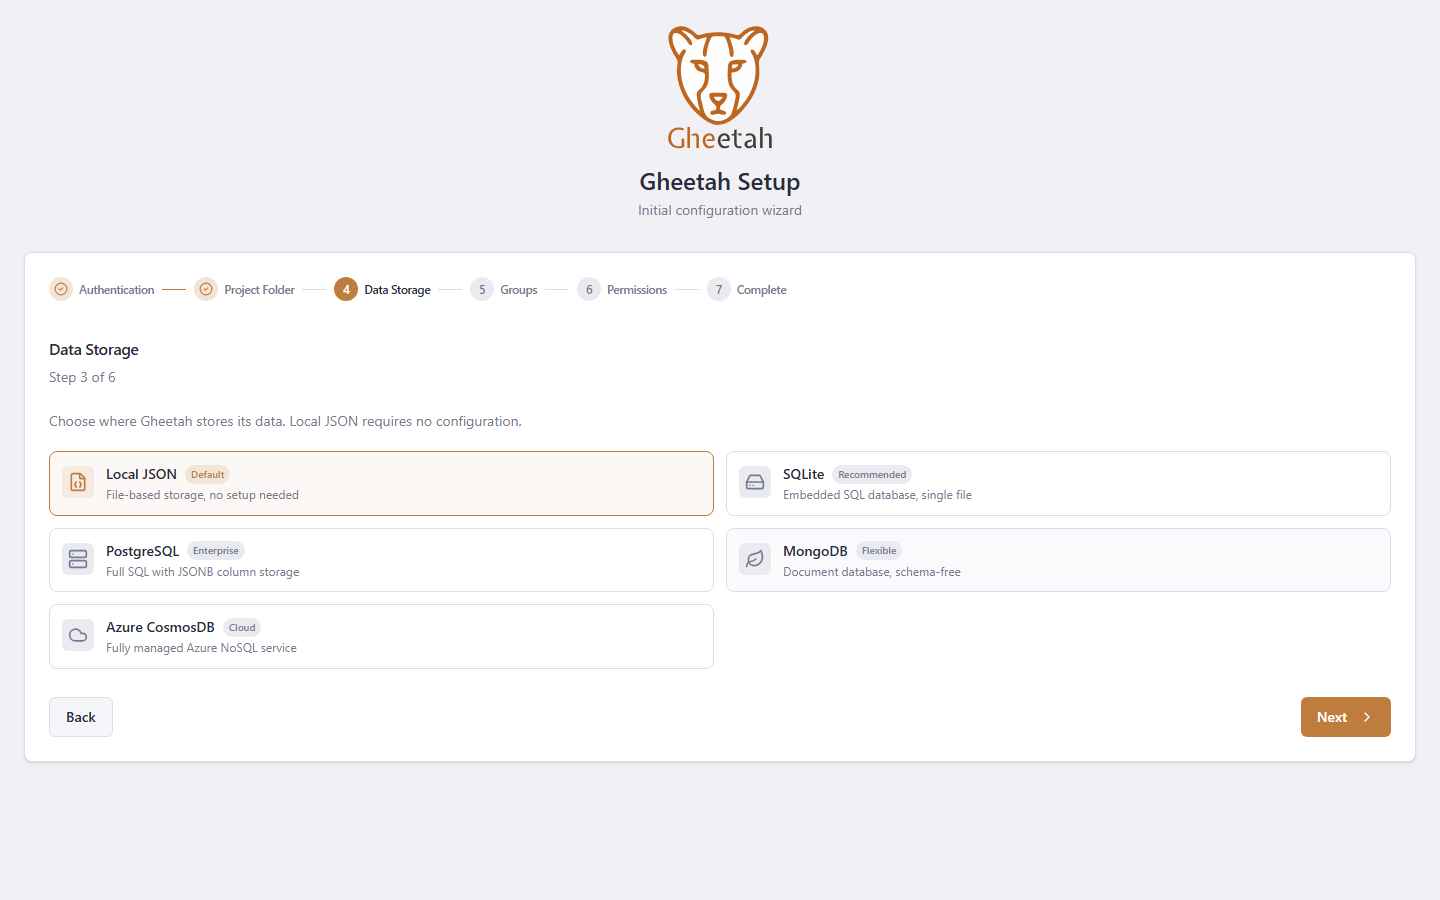
1.5 Review the permission groups
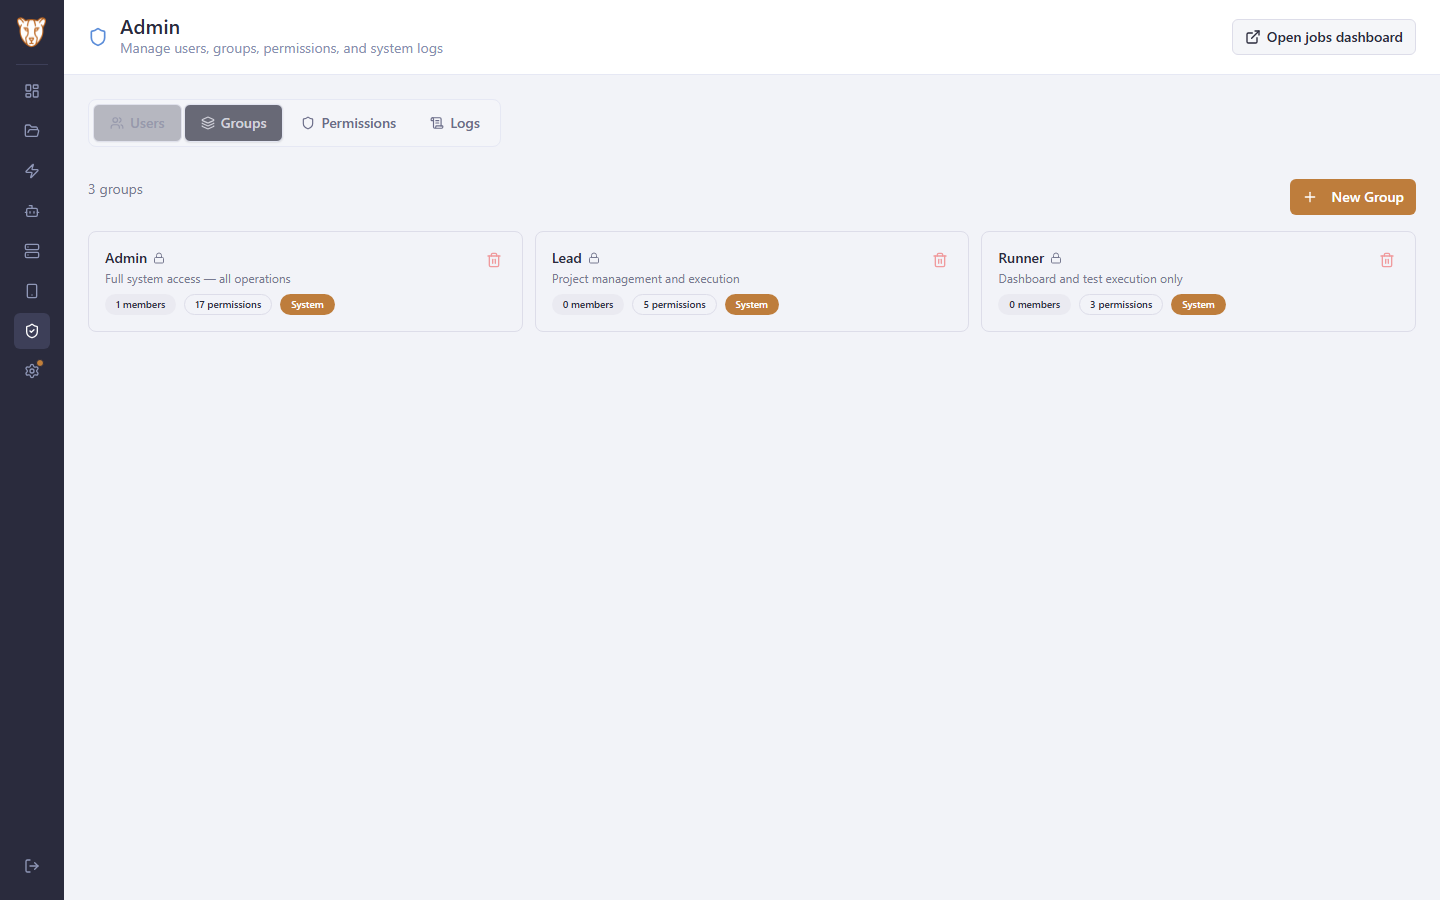
Gheetah proposes three groups: Admin for full access, Lead for running and managing projects, and Runner for executing tests and reading the dashboard. Rename them to match how your team is organised, then save — the wizard will not move on until the groups are saved.
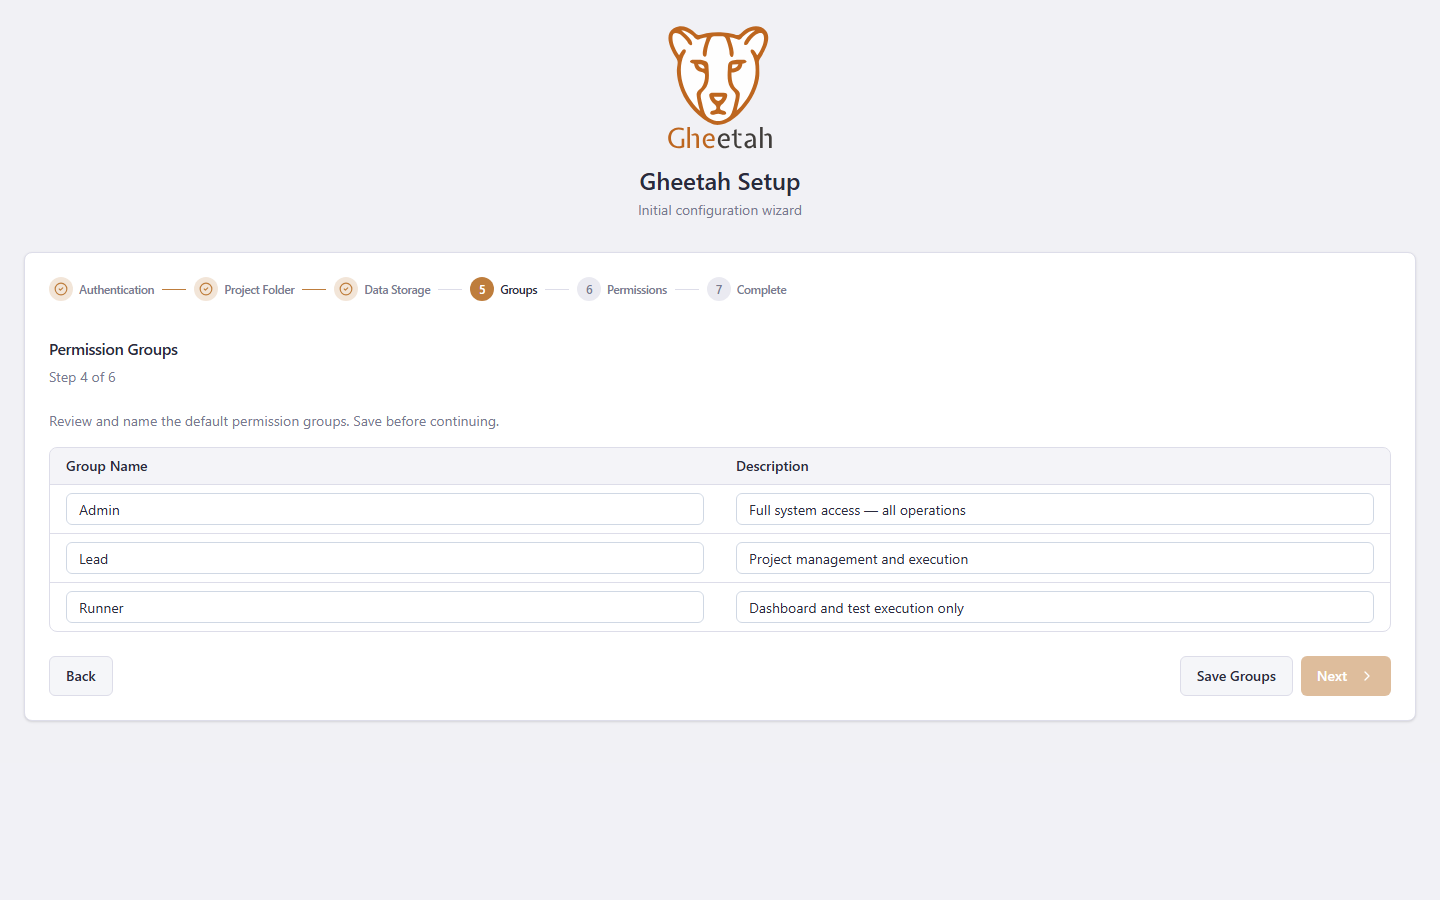
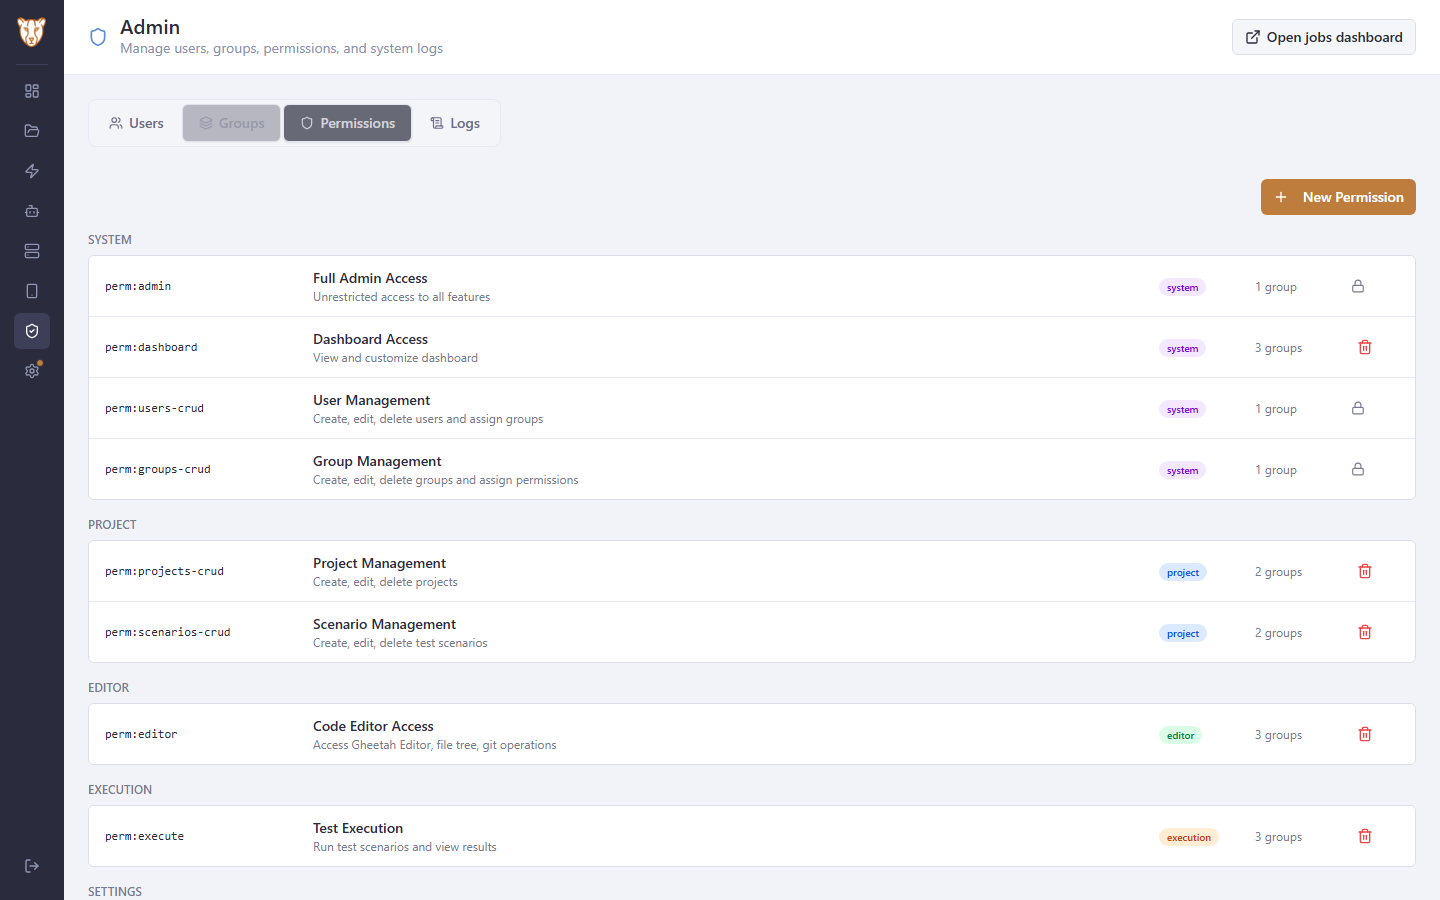
1.6 Assign permissions to each group
Each group starts with a sensible set of permissions ticked. This is where authorisation is actually decided: Gheetah enforces these on the server for every request, so a permission not granted here is not reachable, whatever the interface shows.
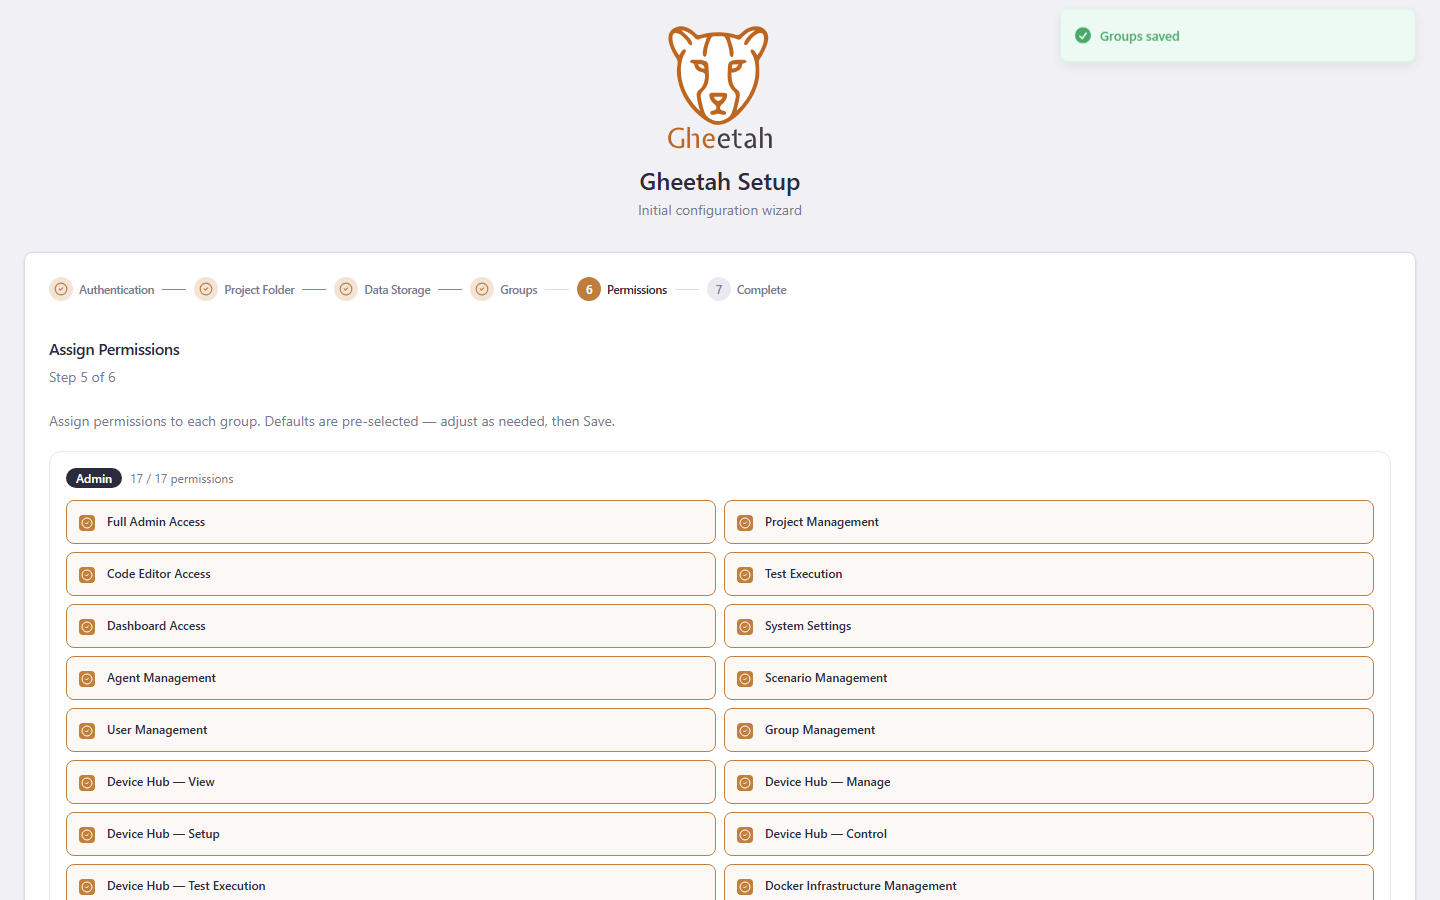
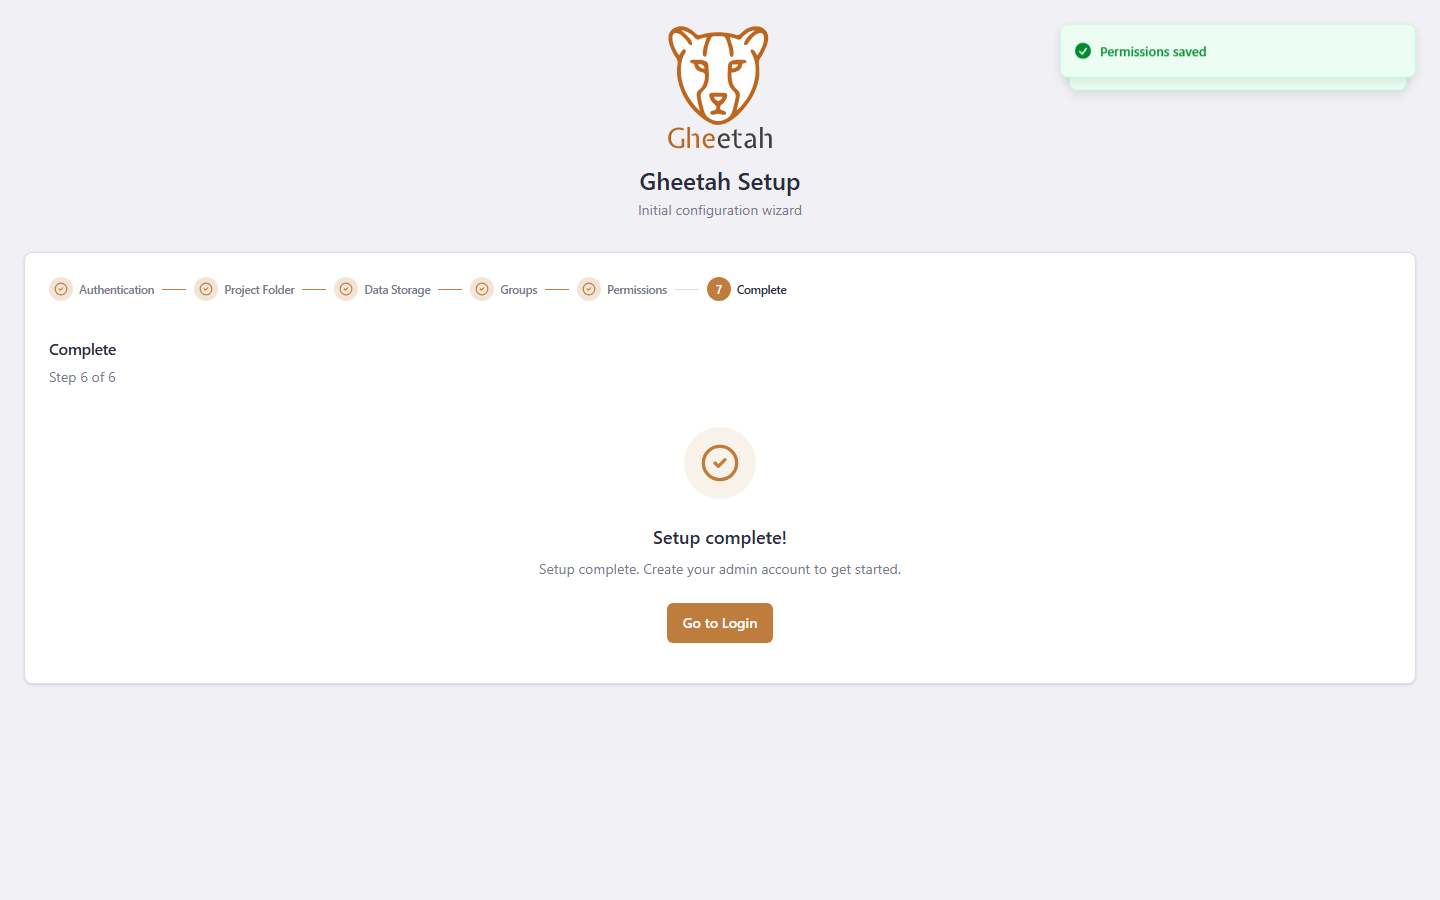
1.7 The installation is complete
Completing the setup writes the configuration and closes the wizard for good. Gheetah does not need to be restarted: the installation is live from this moment, which is why the next step is simply creating an account.
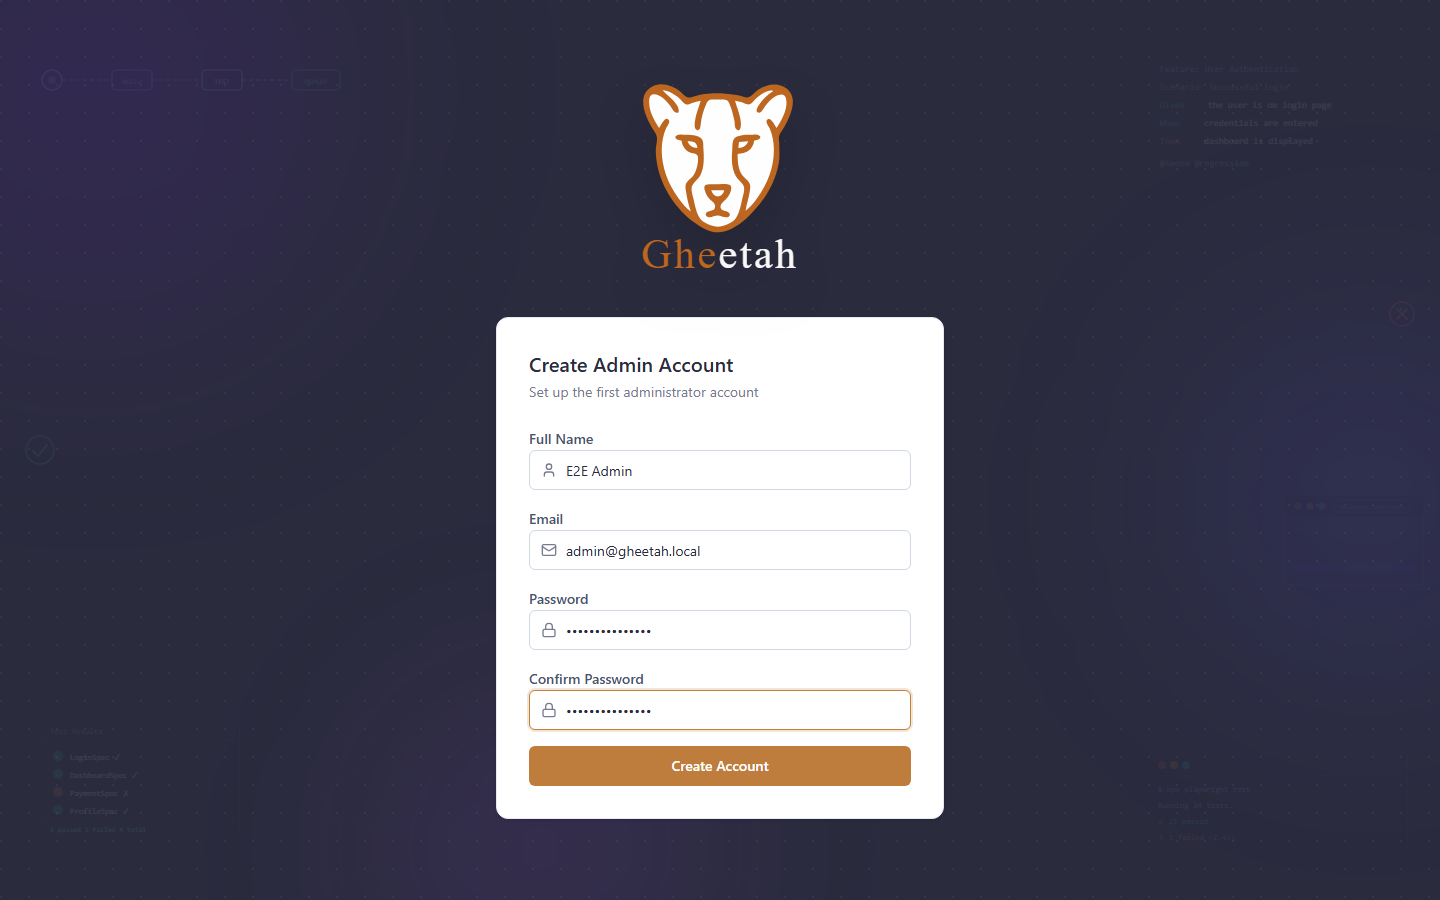
1.8 Create the first administrator
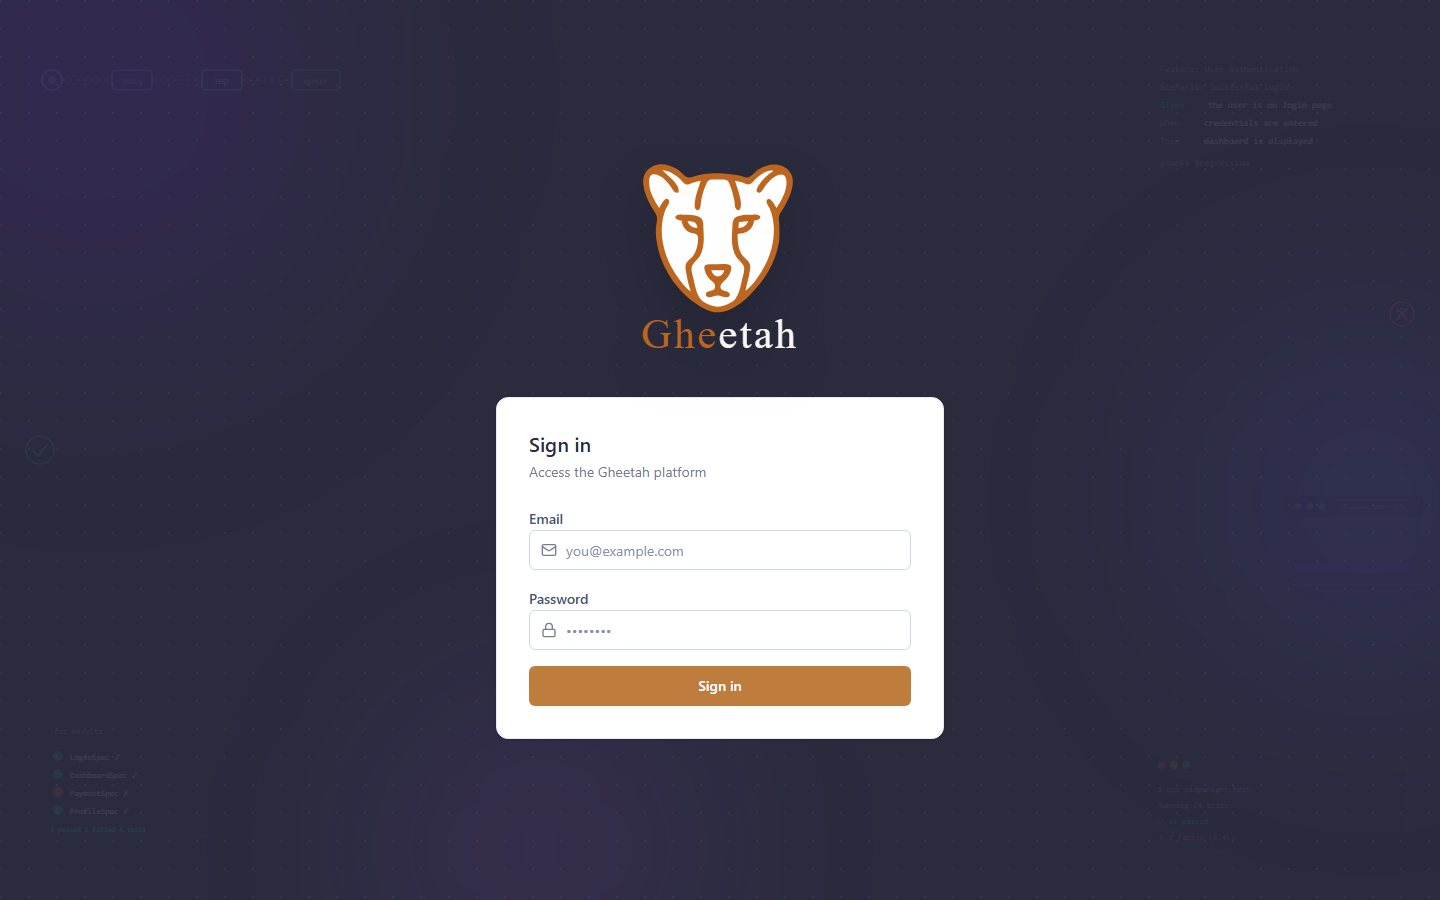
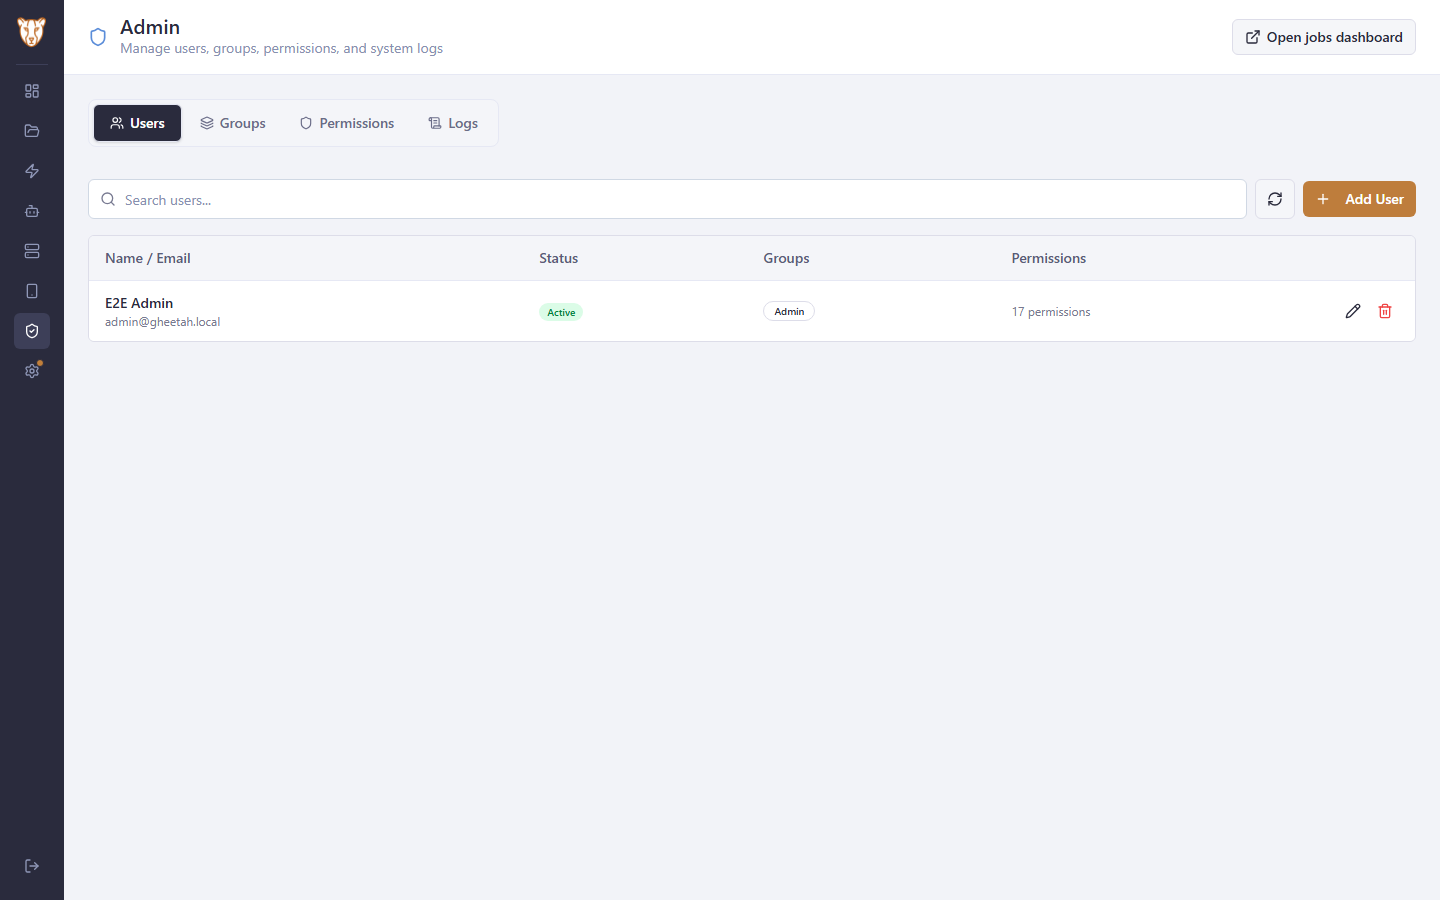
The first account created after the installation is the administrator. Gheetah asks for it on the sign-in page while no users exist; once one does, that page becomes an ordinary sign-in form and further users are added from Admin → Users.
1.9 Arrive at the dashboard
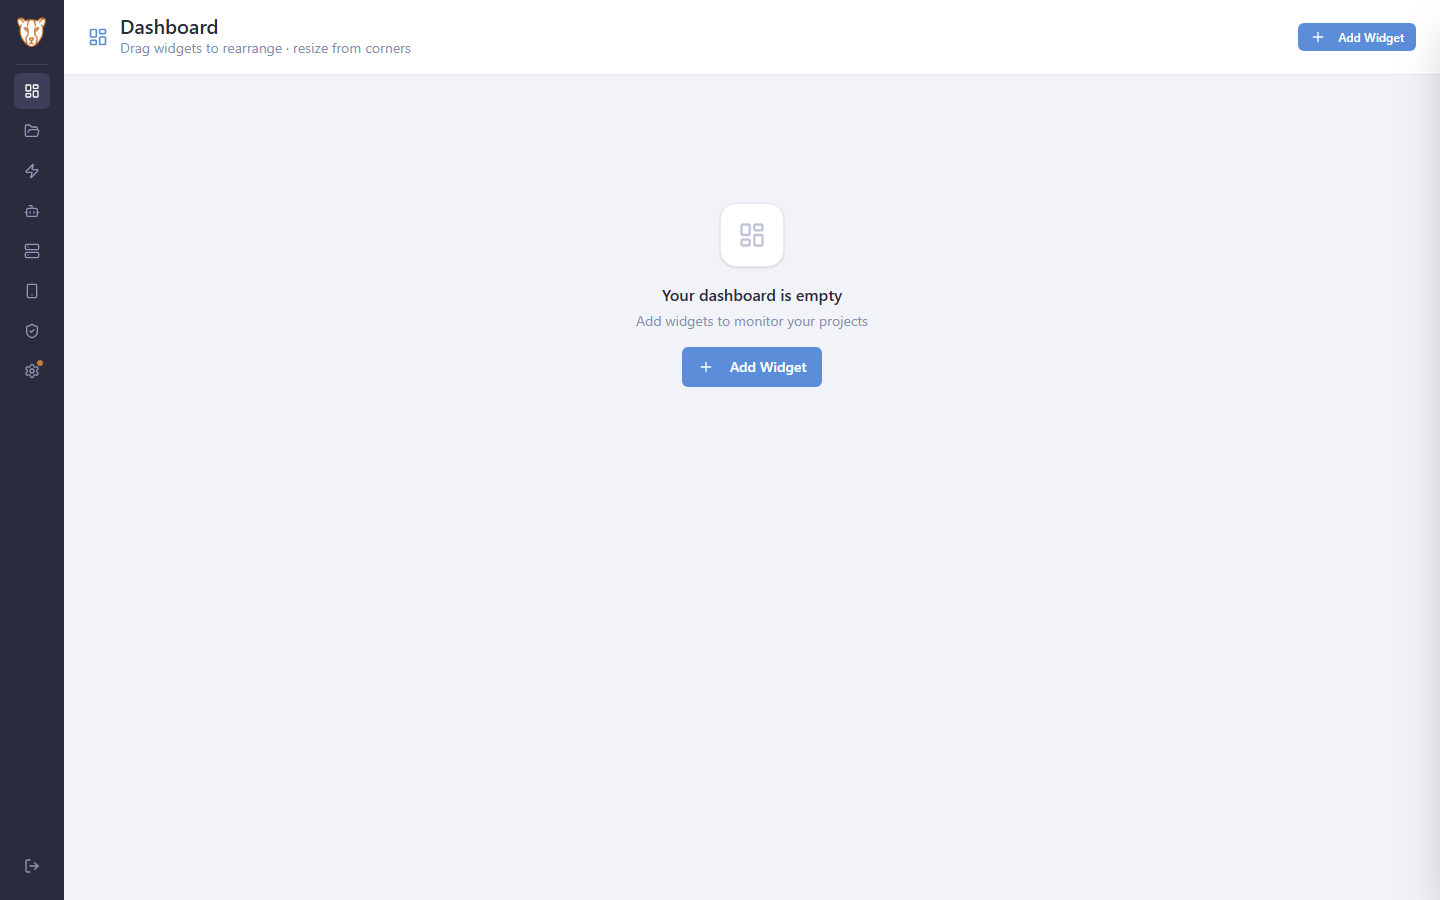
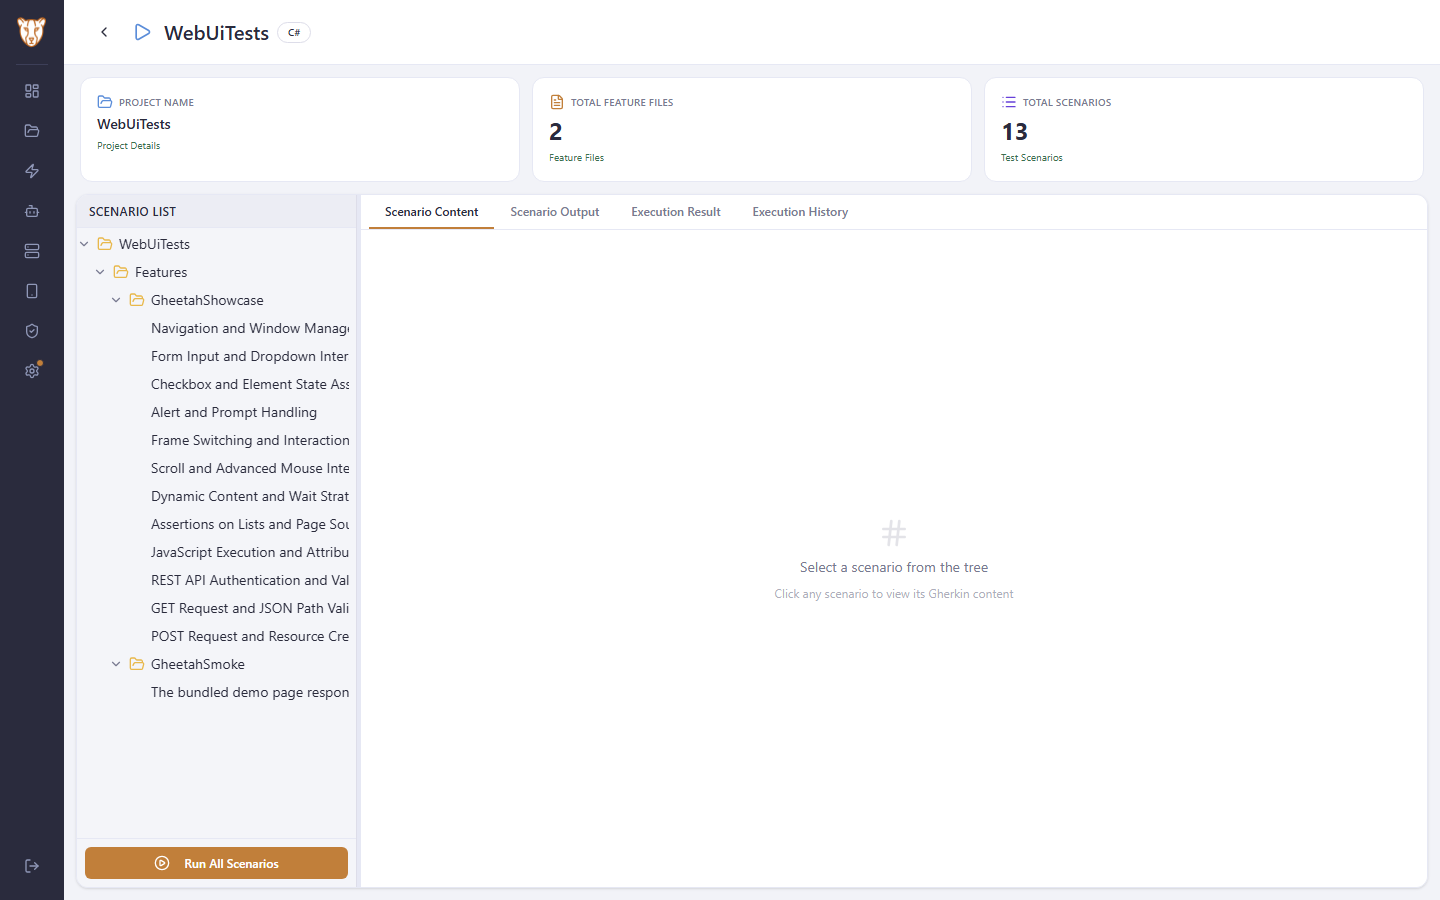
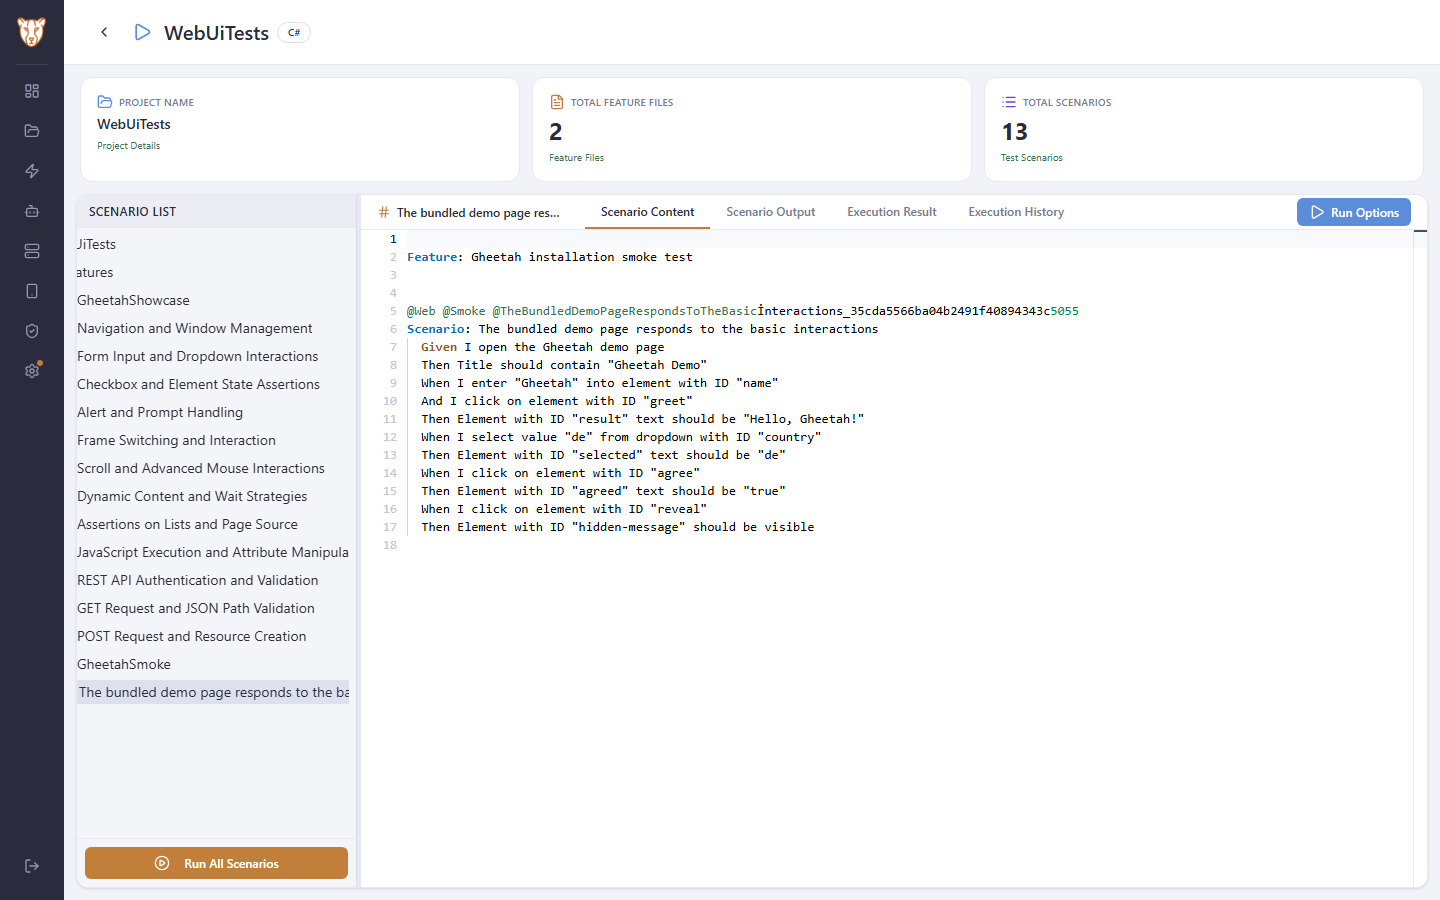
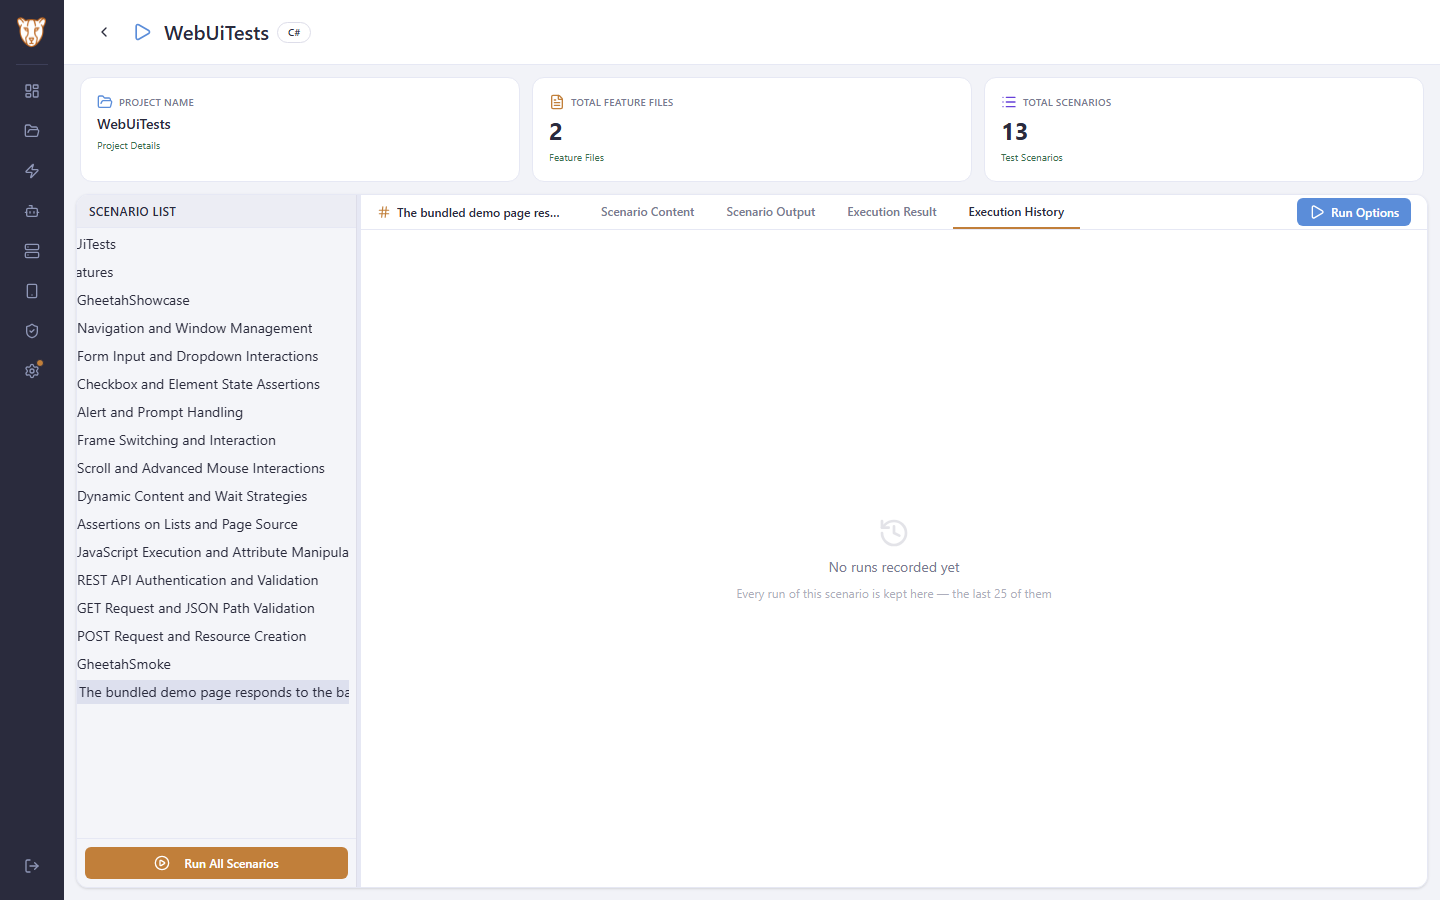
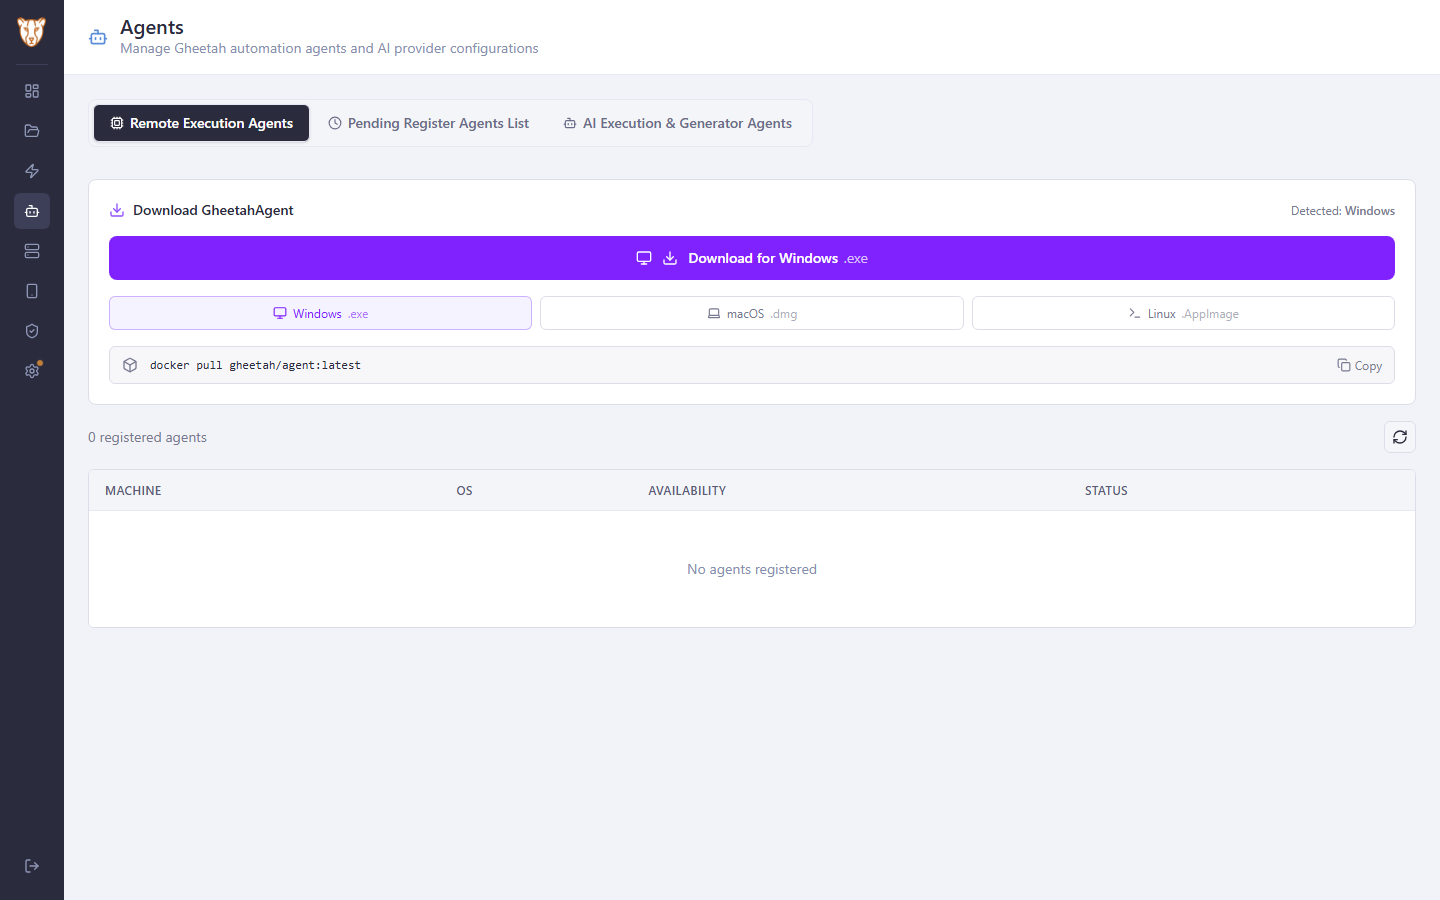
Creating the account signs you in with it — Gheetah does not ask you to log in again, and never asks for a restart. The dashboard starts empty and is built from widgets, each person arranging their own. The rail on the left is the whole product; which entries appear depends on the permissions of your group.

The choices the walkthrough did not make
The walkthrough above takes the shortest working path. These are the branches it passed by. None of them is tested, because each one needs an external system that a test cannot honestly stand in for — but each one is a decision a real installation makes, so here is what it involves.
Authentication
Local accounts — Gheetah stores the accounts itself. Nothing else is needed, and users are created from Admin → Users. This is the right choice for an evaluation, a single team, or an installation with no directory to integrate with.
Microsoft Azure AD / Entra ID — register Gheetah as an application in your tenant, then give the wizard the tenant id, client id and client secret. People sign in with their work accounts and Gheetah never sees a password. Group membership can be mapped onto Gheetah's permission groups, so joining a directory group is what grants access.
Google — the same arrangement with a Google Cloud OAuth client: client id and client secret, and a redirect URI that points back at your Gheetah address.
Generic SSO — for any other OpenID Connect provider: the authority URL, client id, client secret and the scopes to request.
Whichever is chosen, it can be changed afterwards in Settings → Authentication. Changing it does not delete the accounts that already exist.
Data storage
Every option supports every feature. What differs is operation.
Local JSON — Gheetah writes its own files under Data/. No database to run, no connection string, and the whole installation can be backed up by copying a folder. Best for evaluation and single-machine installations.
SQLite — one embedded database file. Still nothing to run, but with real transactions and indexes; a good step up when the JSON files grow large.
PostgreSQL — a shared server, documents stored in JSONB columns with indexes on the fields Gheetah filters and orders by. This is the usual choice for a team installation: the database is backed up, replicated and monitored the way the rest of your estate is.
MongoDB — a document database, if that is what your organisation already runs.
Cosmos DB — Azure's managed document database, for installations that must stay inside Azure.
The wizard asks for a connection string and tests the connection before it lets you continue, so a wrong string is caught here rather than after the installation.
Project folder
The project folder can be left empty during the installation and set later in Settings. Gheetah needs it before the first project is added: it is where repositories are cloned, archives are unpacked and generated projects are written. Point it at a disk with room for as many working copies as your team will hold.